Overview
The "BeforeAfter Image Slider" module allows users to compare two images side by side using a draggable slider. This interactive feature is ideal for showcasing transformations, edits, or differences between two images.
Features Included
Here are key features and effects that you might find in a "BeforeAfter Image Slider" module:
- Smooth Slider Control: Users can drag the slider to reveal more or less of each image.
- Image Slider Height Setting [Desktop, Tablet and Mobile]: You can customize the image slider settings for desktop, tablet, and mobile.
- Label Position: The label position can be set as per the design preference. Such as "Top", "Middle" and "Bottom".
- Hover Overlay Color: You can set the before/after image overlay color like "Solid" and "Gradient".
- Hover Overlay and Label: This is an optional field. As per the design requirement.
- Customizable Styling: Adjust slider color, thickness, and handle color and section spacing and background (Solid, Gradient and Image - Overlay Solid and Overlay Gradient and none) to match branding.
- Interactive Demos: Allow users to interact with the Modern Button through interactive demos. Click here view demo
- Interactive Animations: Smooth transitions between states to create a polished, cohesive feel.
- Padding and Margin Control: Adjustable padding and margin to optimize module layout on different screen sizes.
- Alignment Options: Enables left, right, or center alignment within containers for layout flexibility.
- Responsiveness and Adaptability: Automatically adjusts for mobile, tablet, and desktop views.
This module enhances visual storytelling and engagement by making transformations instantly clear to viewers.
Module Setup
Setting up the "BeforeAfter Image Slider" Module is easy and straightforward. All you have to do is perform a simple drag and drop.
Now let’s go through the setup steps:
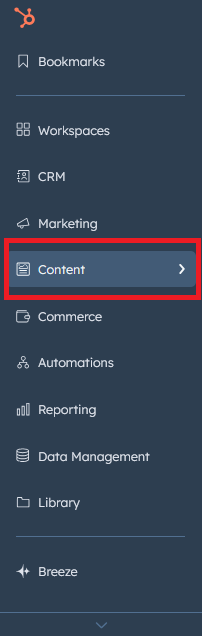
- Login to your HubSpot account and left side navigate to the “Content” tab.
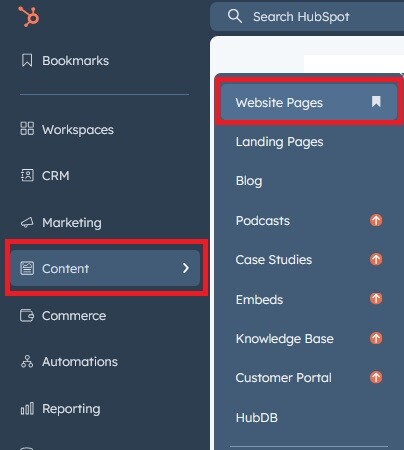
- Click on “Content” in the dropdown menu and select “Website Pages” from the extended menu.
- Under the module selection menu, search for “BeforeAfter Image Slider” and select the module

- Now simply pick the "BeforeAfter Image Slider" module, drag, and drop it wherever you want on your page. You’ll see a new module appear on the page.
Figure: Drag and Drop View


Support
If you have further questions, please reach out to our team at hawksky3012@gmail.com.